Here’s #7 – the final one in Love in India special series of DIY Valentine’s Day Cards, which are exquisite, original and all take less than 10 minutes to make. I call today’s card “The Tajmahal of My Love.” You’ll find out why.

Things you’ll need:
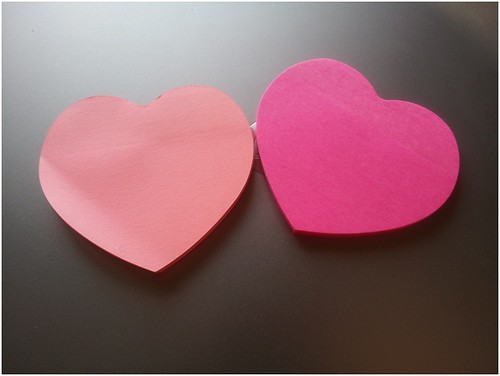
1. Heart-shaped post-its of two different colours. (alternatively, ordinary post-its of two different colours)
2. Scissors.
3. A pencil.
4. Glue
5. Coloured pens (Optional, for decoration)
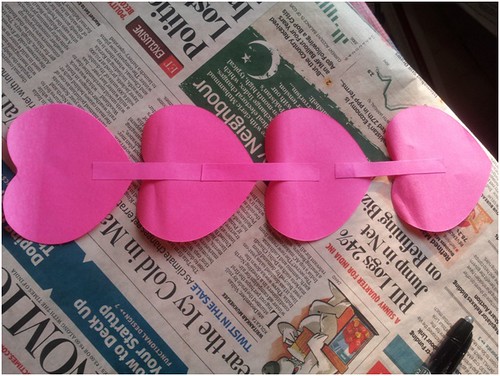
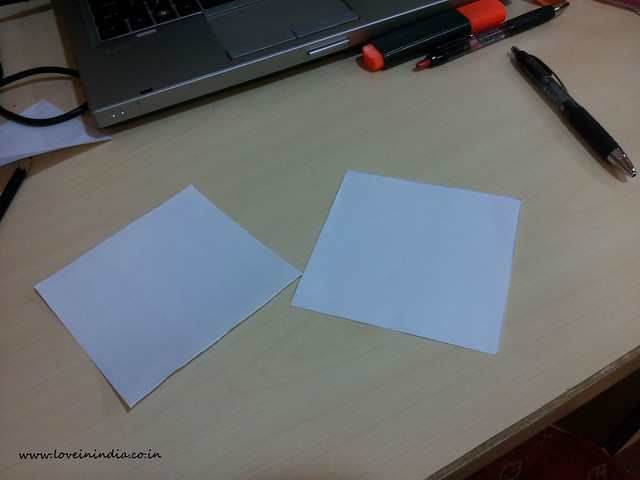
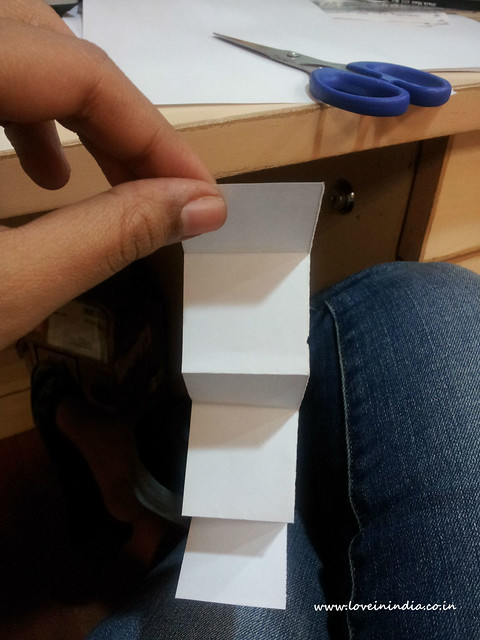
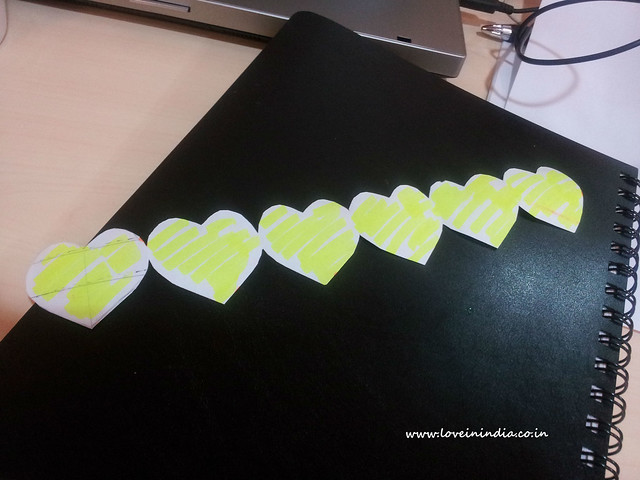
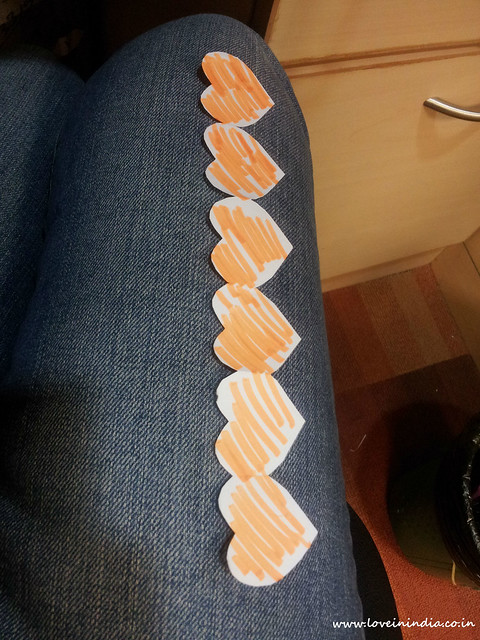
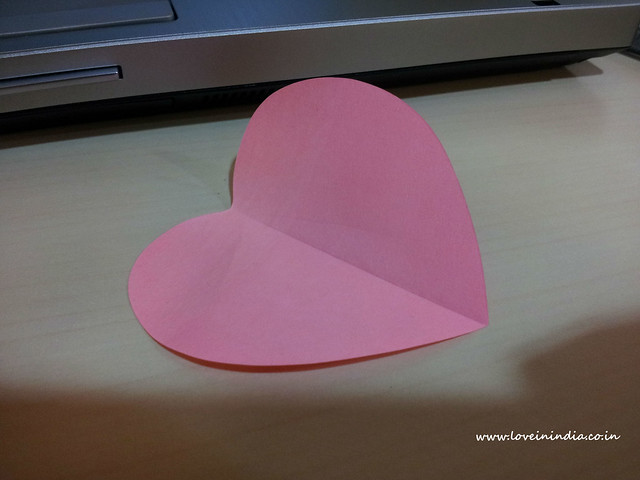
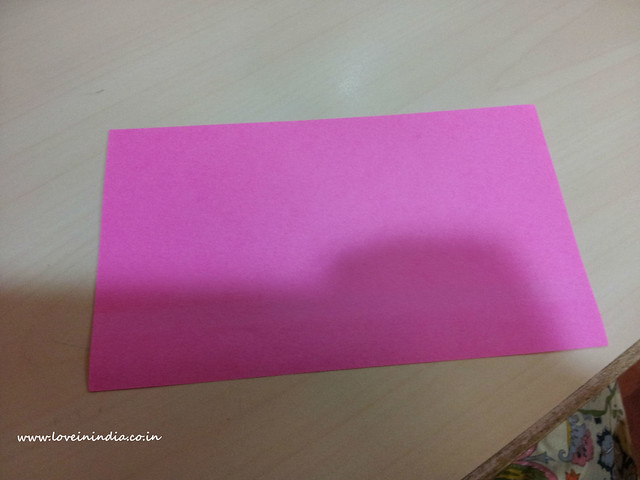
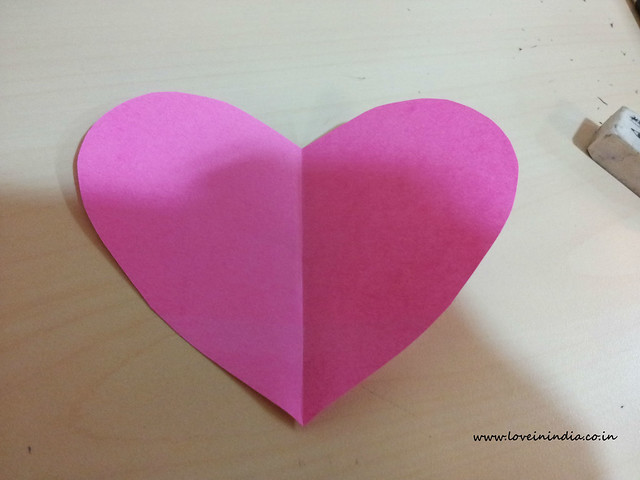
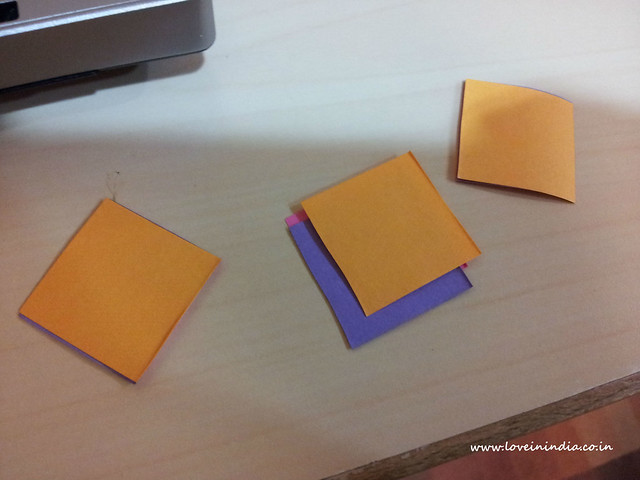
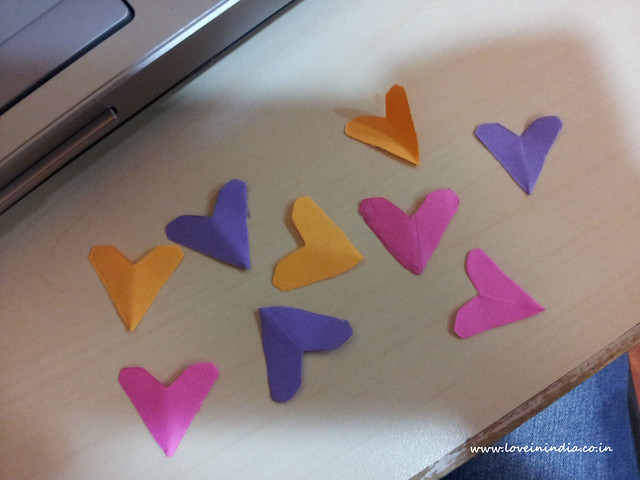
Valentine’s Day card 7 step 1: Take 2 sets of 3 heart-shaped post-its each (of two different colours). Or make heart-shaped post-its from ordinary post-its as shown in Valentine’s Day Card Workshop 2.
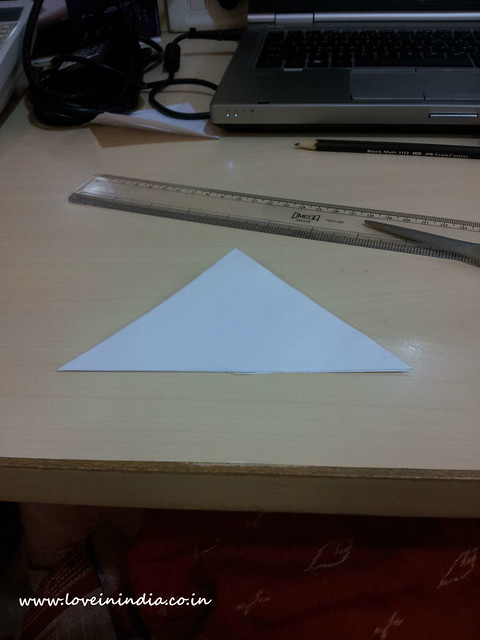
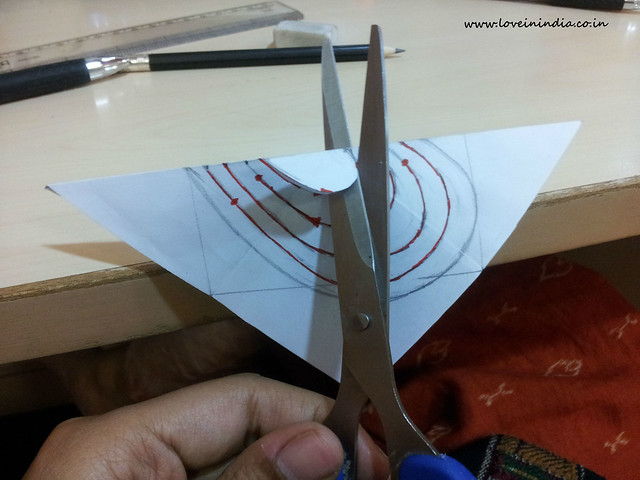
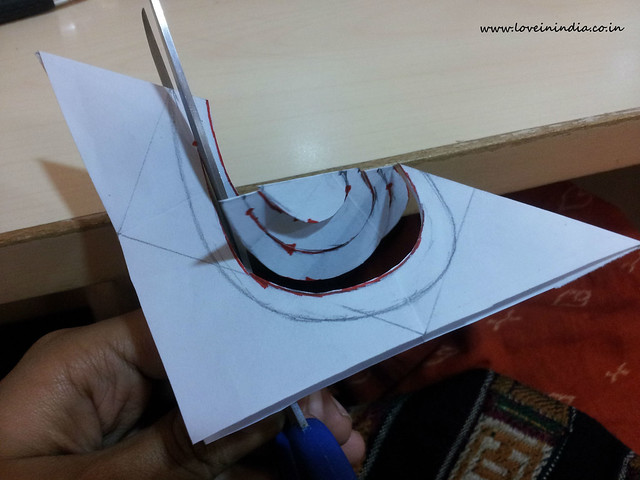
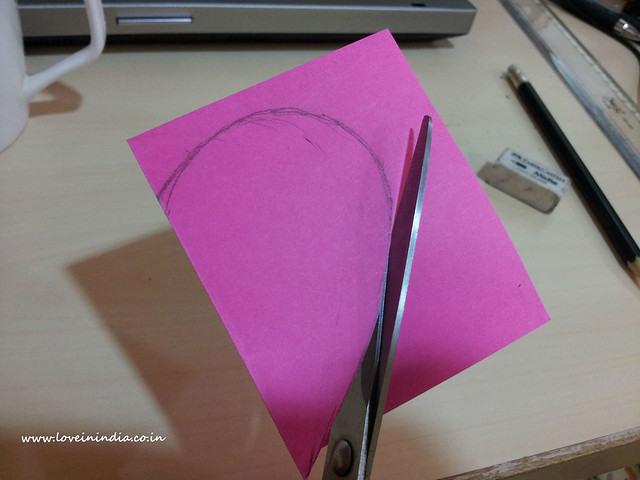
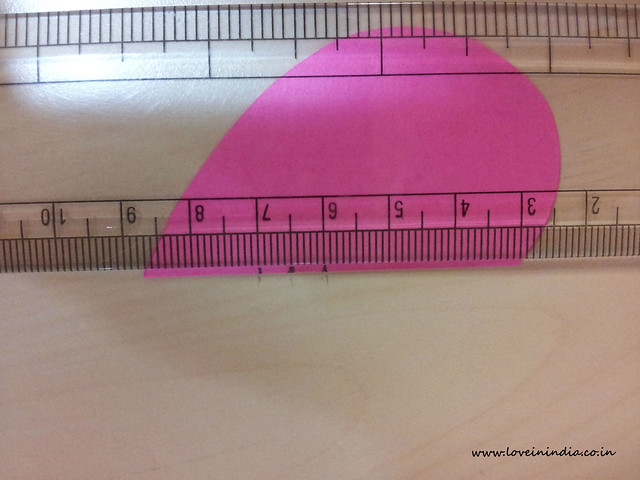
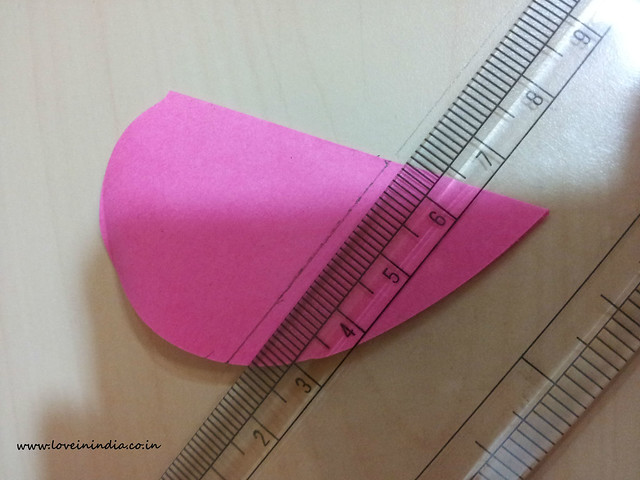
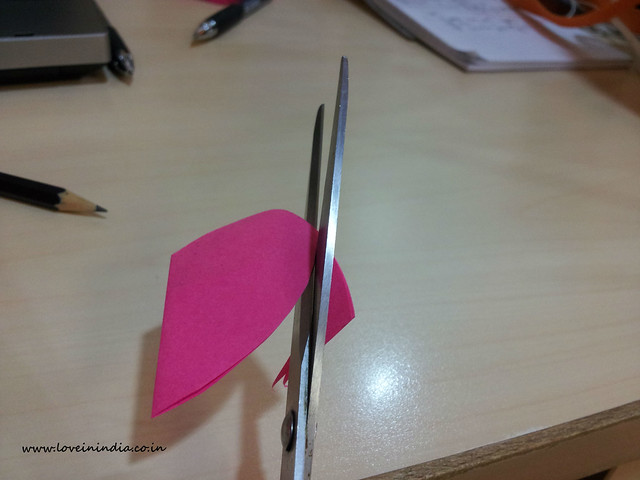
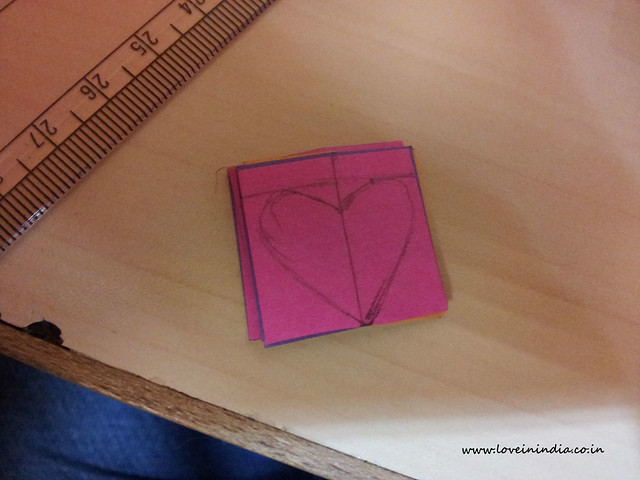
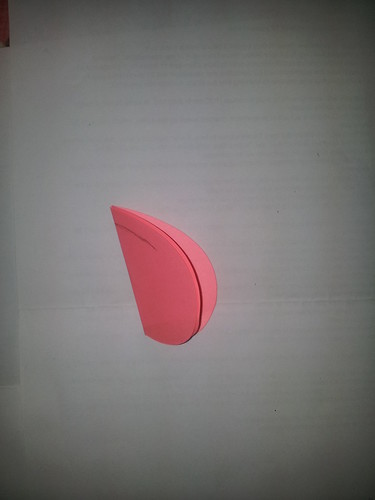
Valentine’s Day card 7 step 2: Take one of the sets and draw the tail of a smaller heart (inside the boundaries of the heart-shaped paper). It’s not necessary to draw the entire heart. Now cut along the line so that each of the 3 post-its in this set have a slit in the shape of the tail of a heart.


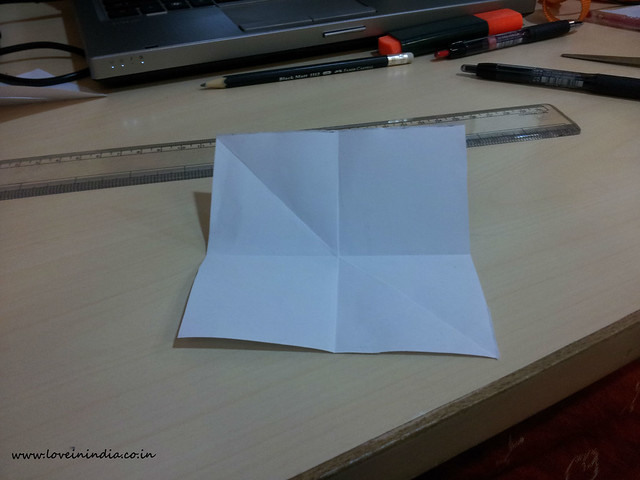
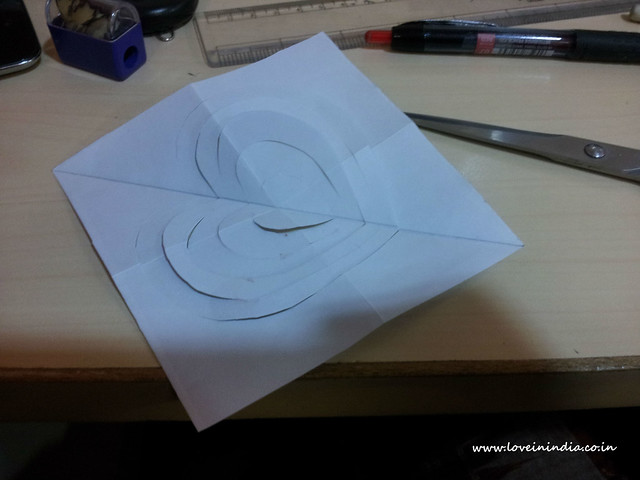
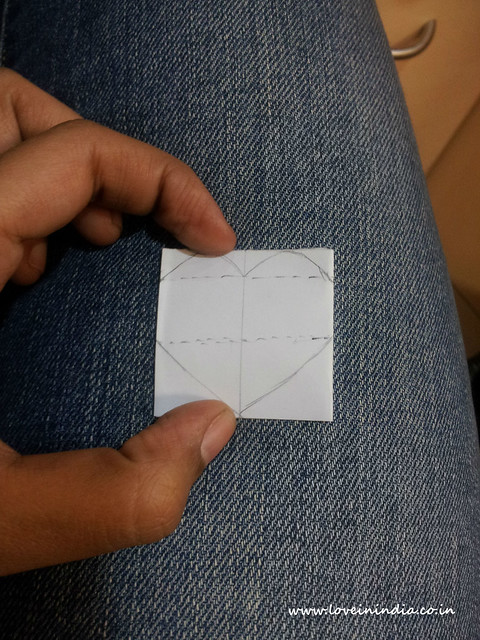
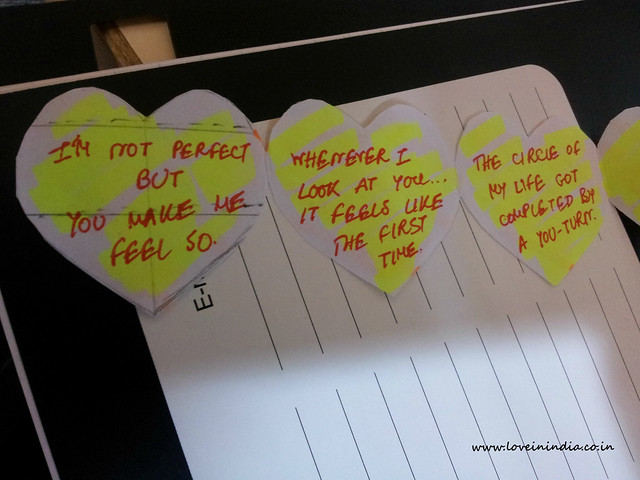
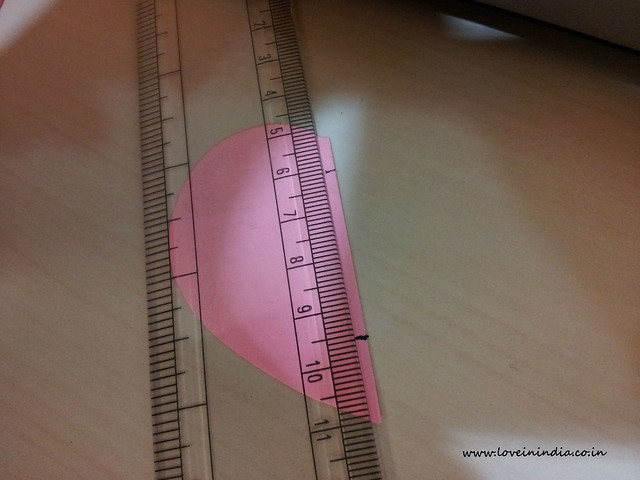
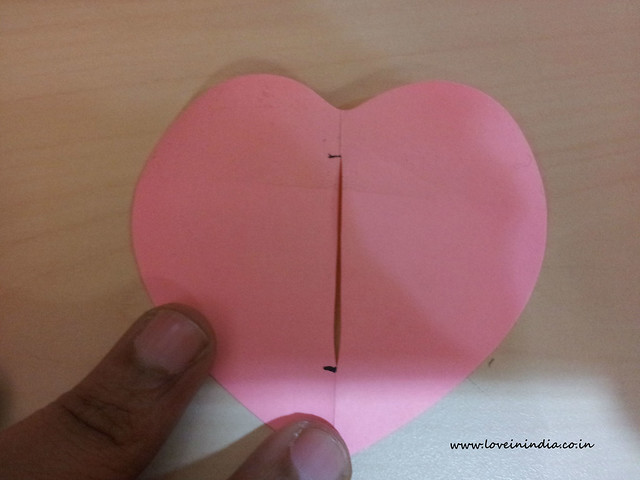
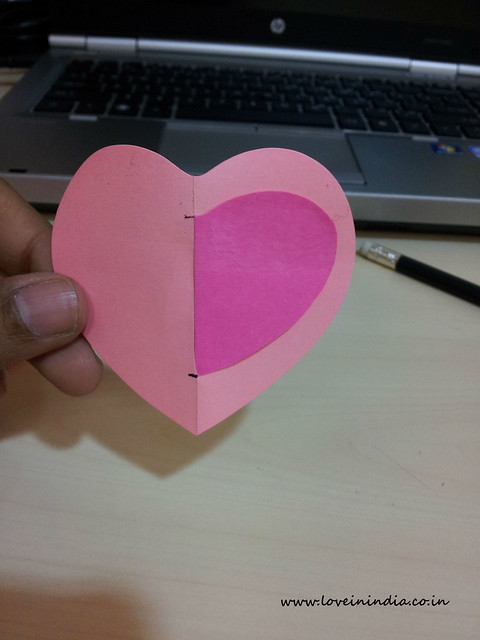
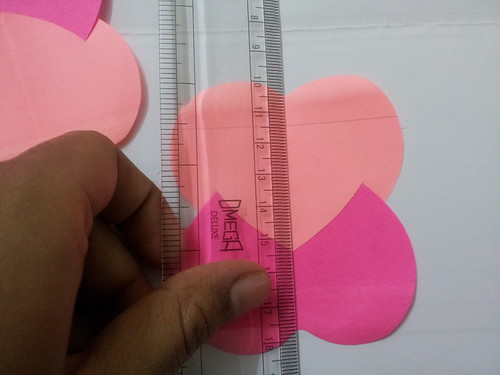
Valentine’s Day card 7 step 3: Fit one post-it from the other set into each of the slits (don’t attach with glue). Then mark out two points on the joint spine, equidistant from the two ends. Then draw two lines parallel to the two shoulders, through this point. Repeat this for each of the three pairs.
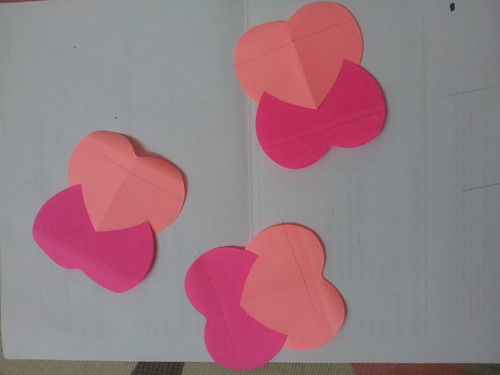
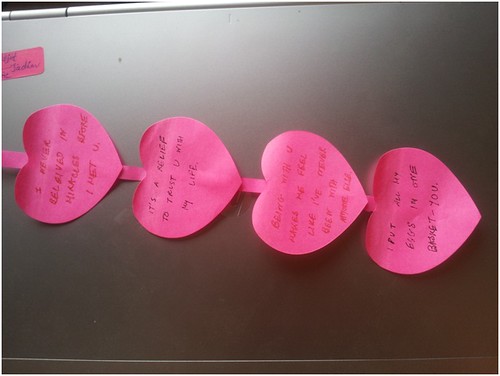
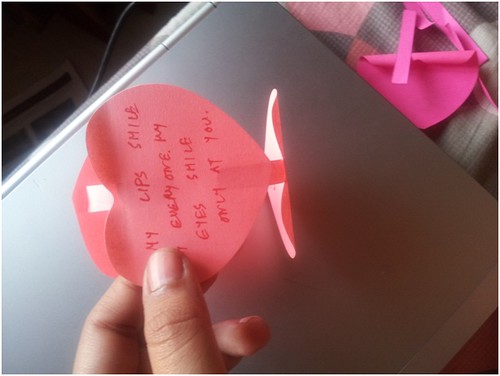
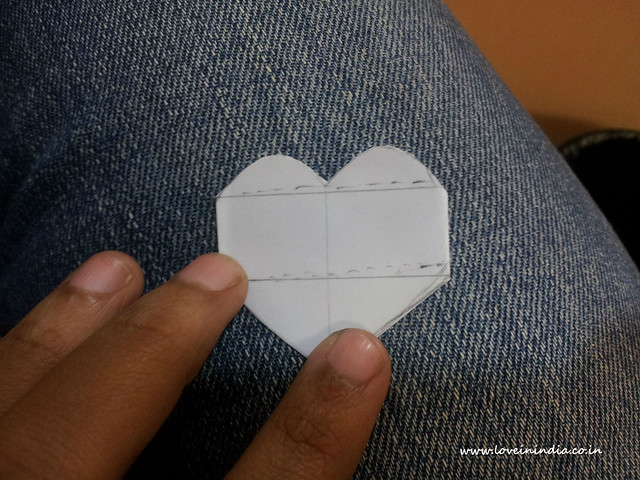
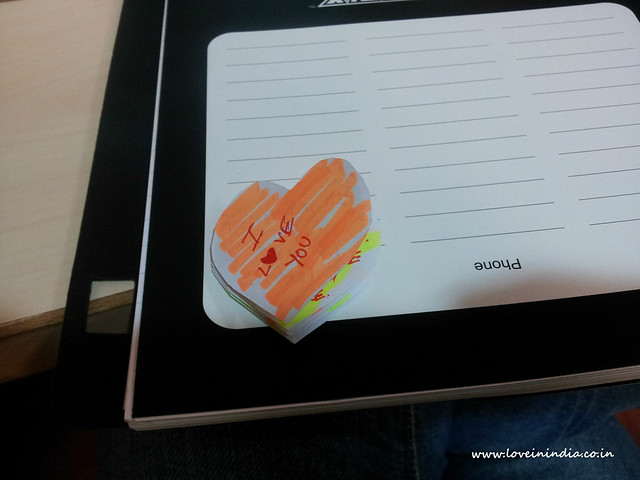
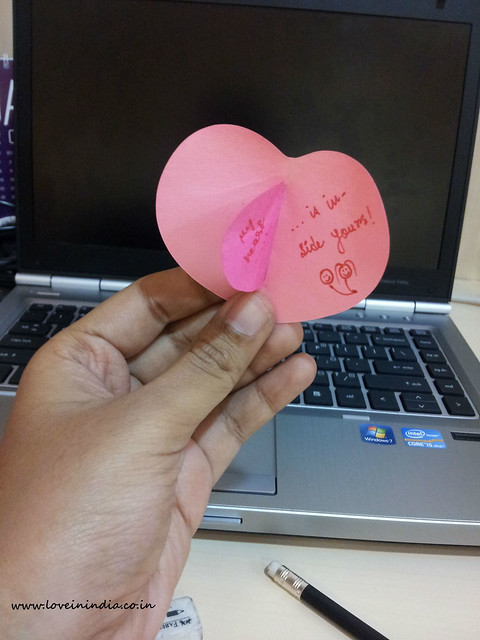
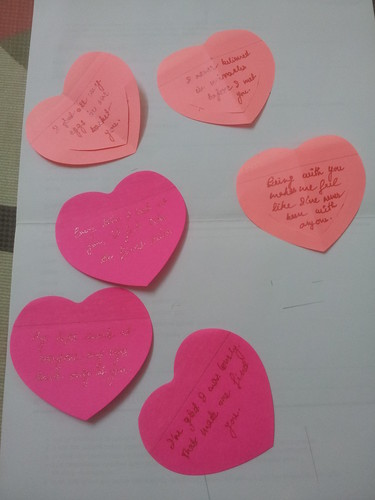
Valentine’s Day card 7 step 4: Write your favourite love quote on each heart. They should remain below the lines you’ve drawn. In the hearts with the slits, they should also remain within the (imaginary) smaller heart whose tail lies along the slit. Like this:
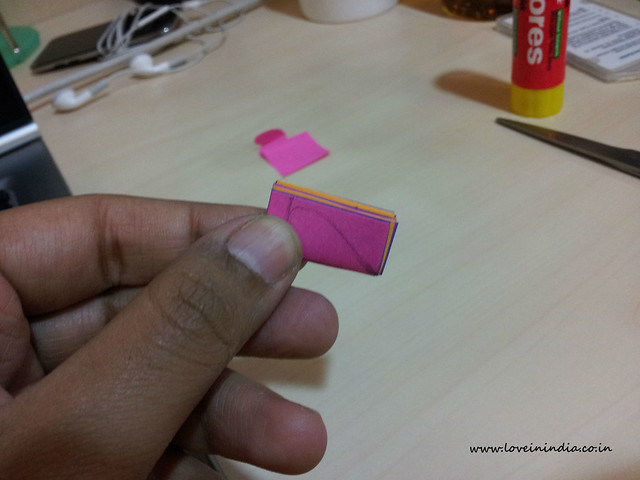
Valentines Day Card 7 step 5: Make eight strips of coloured paper (you can cut these out from other similar post-its). These would serve as the pillars of my Tajmahal.

Valentines Day Card 7 step 6: Make little folds on both the ends of each strip and put glue on them.

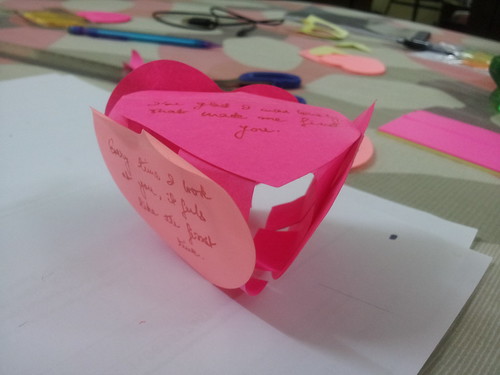
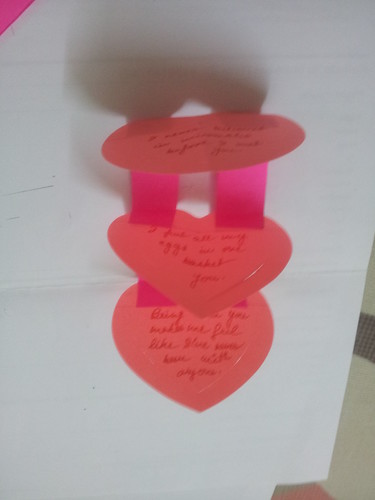
Valentines Day Card 7 step 7: Now get to work building your Tajmahal, attaching the floors (the heart-shaped panels) with your pillars. Each heart will have two pillars attached to it, and only in the portion above the shoulder-lines you drew on each of them. This will ensure that the pillar don’t interfere with the quotes. Make sure all the quote-ed sides face the same side in both the sets.

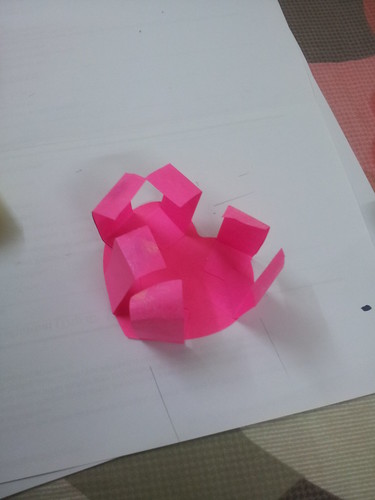
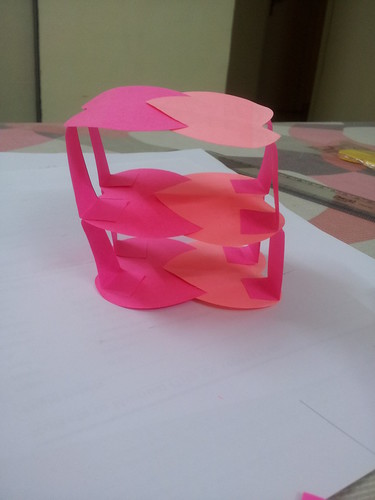
Valentines Day Card 7 step 8: Let me see how dextrous you are with your fingers as you now fit the un-slit hearts into the slit-ed ones. J This is how it will look from the top when your Tajmahal is done. Note how there’s no hint of the quotes when you look at your Tajmahal from the top. More about that later.
Top View:
Bottom View:

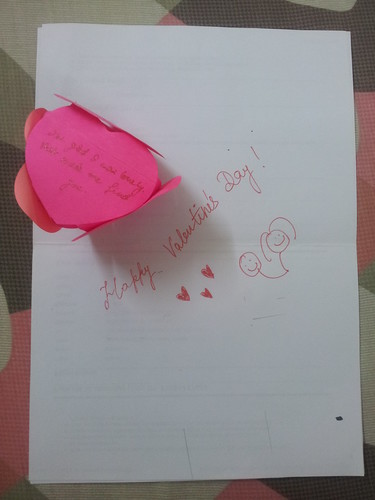
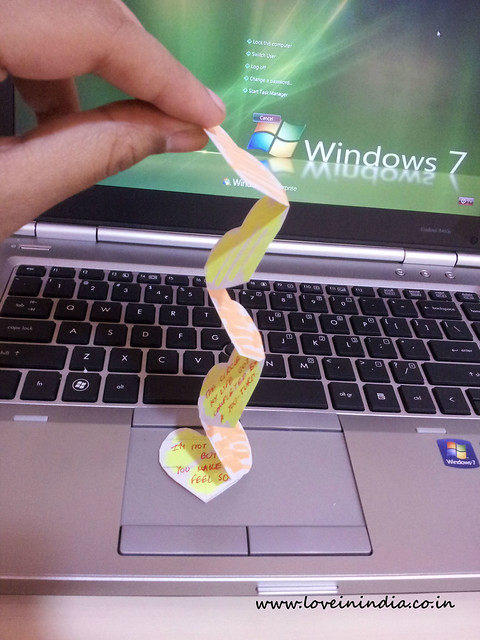
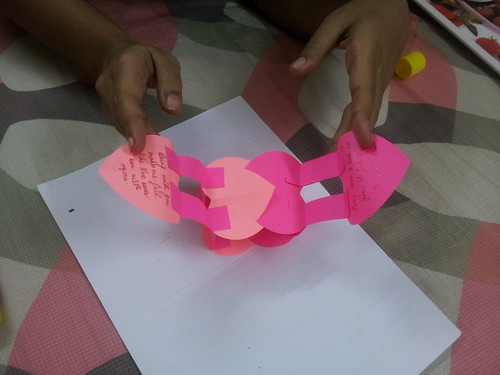
Valentines Day Card 7 step 9: Present your sweetheart with your Tajmahal and tell them, “Go on. Blow up the palace of my love.” All your feelings will be tumbling out in the form of your quotes when they blow it up.
Like that? No? Let me know in any case by leaving a comment. :)